Replacing An Existing HVAC System
There will come a time in the life of every HVAC system when it will need to be replaced. See our post on repair or replace to get tips on how to tell whether your unit is a candidate for replacement. Once that decision is made, it is wise to get a couple of quotes. Replacing an HVAC unit is definitely not a do-it-yourself project! It takes an experienced estimator, specially trained installers, and special tools. Plus, in most shops, installers are not repair technicians, as different skills are involved. In this video, we follow along while one homeowner gets an estimate to have the HVAC unit replaced during the remodeling of a 1950’s era house in West Nashville, and a second homeowner in a 1928 home has their second floor unit replaced.
- The first step is to perform a survey to be able to estimate the work to be done. Tommy Gentry, Service Specialist, has a conversation with the homeowner.
- When the survey is complete, Tommy writes down all data and gives the homeowner a price. Once the homeowner accepts the price, Tommy makes arrangements for the installation through the scheduler, allowing for all needed parts to be available, and on a day convenient for the homeowner. In this second case, it was 3 days from the date of the estimate until the job was completed.
- The truck arrived at 8:30am loaded with all the parts and gasses required. The HVAC unit being replaced was on the second floor of the house. Care was taken to lay down cloth mats over all the carpets and floors in the HVAC unit’s path.
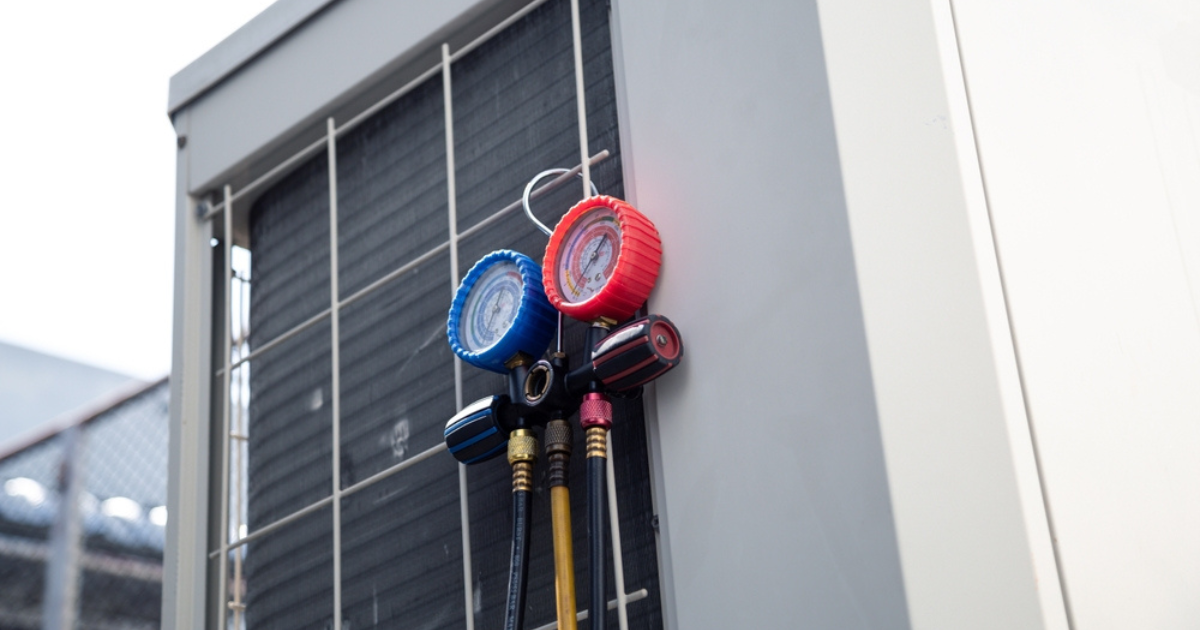
- Next, the refrigerant was removed from the outside unit with an electric pump, and loaded into a recycle can. A pressure meter is used to determine when all the refrigerant has been removed. It is illegal to let refrigerant escape into the atmosphere due to its harmful environmental effects. This refrigerant, called R-22, can be cleaned and used for repairing older units. New HVAC units use a different type of refrigerant, R-410A, which is more environmentally friendly. Since federal law has phased out production of R22, making prices skyrocket, it is worthwhile to capture it so it can be recycled.
- Next, demolition of the inside unit began. The power was turned off, the power wires to the unit were cut, and the thermostat was disconnected. It was now safe to cut the copper refrigerant pipes. All pieces of the old unit were removed and carried out.
- The new inside unit was installed and all the connections were made. A special propane torch was used to make the copper refrigerant line connections.
- The outside unit was completely disconnected and the parts were carried away.
- The old HVAC base pad was removed. The ground was leveled underneath and a new base pad was installed that was much sturdier than the old one. Having a level pad is essential to the HVAC unit’s operation.
- The new outside unit was installed on the new base pad, and the power and control wires were connected. As before, a propane torch was used to connect the copper refrigerant lines.
- Now it was time to test the refrigerant lines for leaks. Nitrogen under pressure was introduced from a container. Nitrogen is an inexpensive inert gas. It is used for testing rather than using actual refrigerant – in this case R-410A refrigerant – because if there is a leak detected, it would all have to be removed, the leak fixed, and fresh expensive R-410A installed. In his case, there were no leaks so the job continued.
- The electric pump was used to remove the nitrogen and the pink container R-410A refrigerant was installed.
- The new system was tested in both heating and cooling modes, and worked really well.
- The last step was to load all the trash on the truck and haul it to the recycle yard.
Let Interstate AC Service help you make wise investments when it comes to heating and air-conditioning. If you live in the Nashville or surrounding area, give us call at 615-802-2665.


